MISSION SPECIAL + YOUNGER
For those of you out in the field with no resources this is your craft. This is the basic sheep craft, you can use cotton wool, elbow macaroni painted white, or anything you can find... but my favourite is rice, it is cheap, easy to clean up, and simple to work out how much you need.
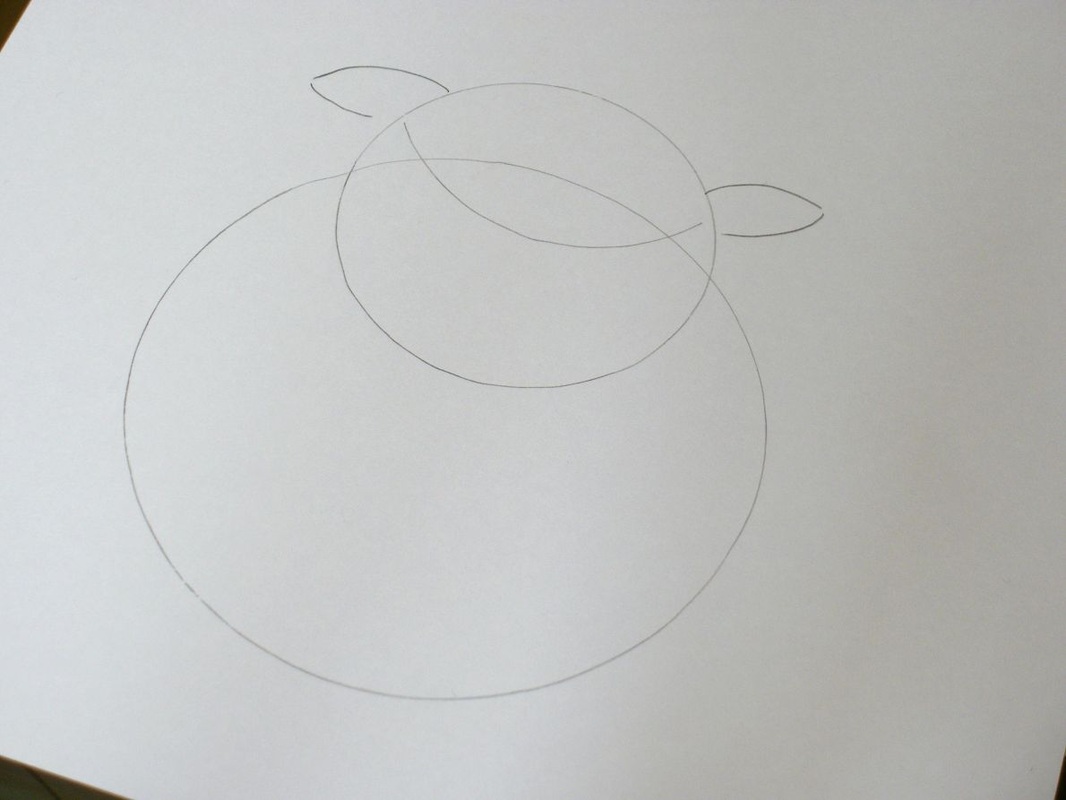
You will need : paper / card, 2 circle objects to draw round, a black pencil, glue, one handful of rice per child.
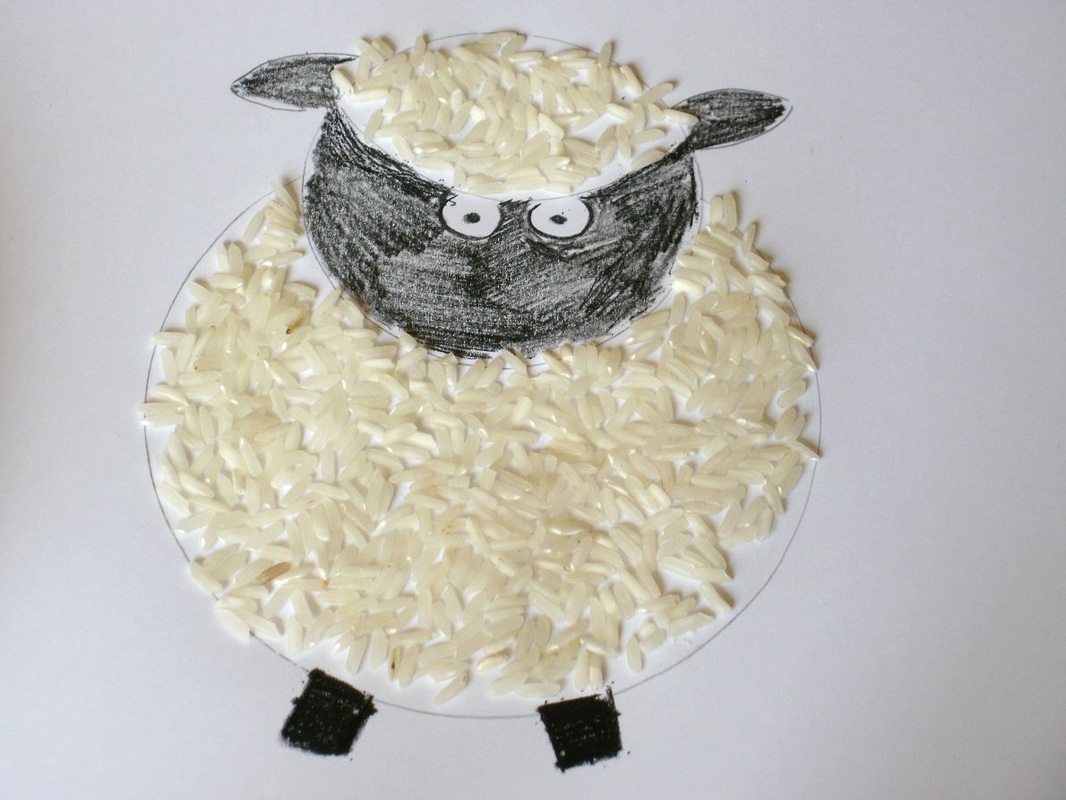
Draw round a large cirle first, then a smaller one for the head, and the same size again for the forhead. Ears and eyes and legs can be added freehand. Colour the black in first (and the background if you are having one), I stupidly did this the wrong way round. The forhead and body are then filled with rice. It really is that simple.
EXTEND IT - turn it into a group craft, use thicker card and paint a backdrop to place a crowd on, use brown rice for the goats and a more oval body, cut the head out of a separate piece of card to make it more three dimentional, use dark fabric scraps from the face, or dark wool and stick on googly eyes.
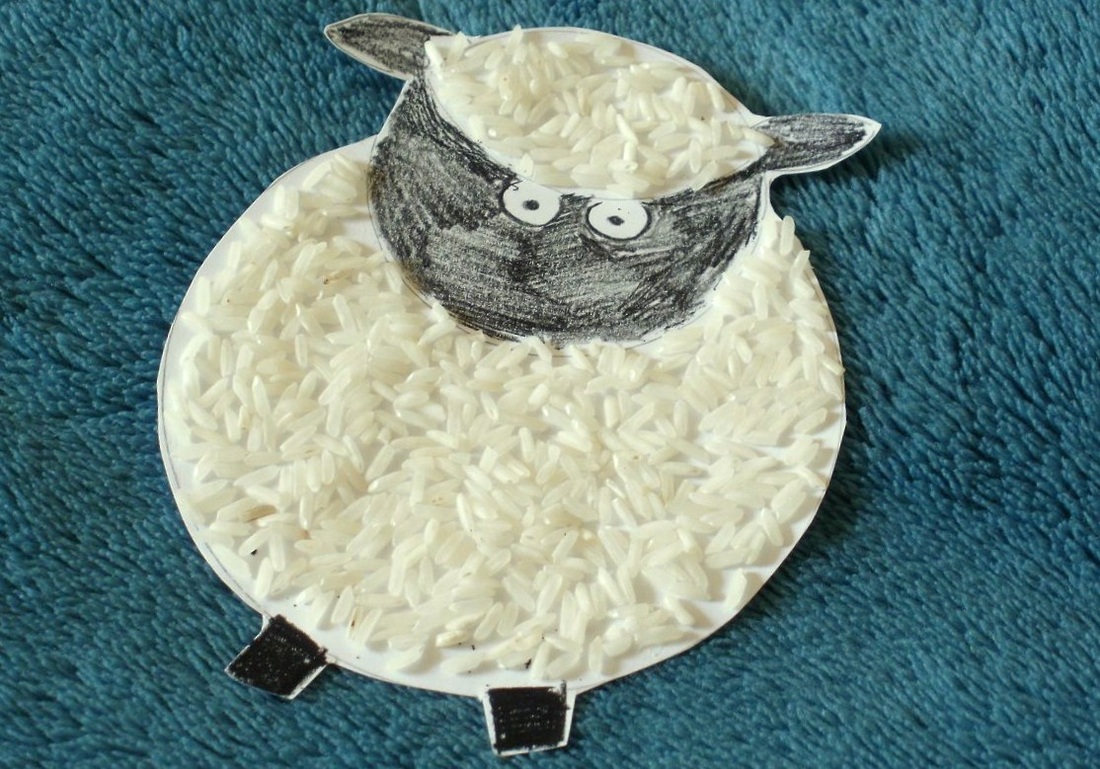
If resources aren't an issue then using double sided sticky plastic can remove the glue from the table
If you cut it out after using only a glue stick - the rice will come off
MIDDLE
Sheep, goats, and other animals... the craft list is endless. Knowing that a sewing machine is not everyones thing here is a roundup of some lovely alternatives that i've found online.
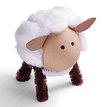
Wool wrapped sheep - formed from a kidney bean shape of card, clothes peg legs, and bits of felt for ears. Really simple and works well with different colour wools. Click on the picture for the link.

Papercraft sheep - i once tried to do this myself, but failed miserably. Didier on the other hand is much better and as part of his nativity set made sheep that became my favourite characters in the whole scene. Clicking on the picture will take you to the animals book and you need page 10 which will make 2 sheep.
Egg sheep are quite possibly one of the cutest things i've every seen. I wouldn't bother dying them brown to start with though. Pipecleaners, a bit of brown card, the obligitory cotton wool and a black marker give this hard boiled egg a new life... and if it breaks then the kids can eat it! Picture linked to the original instructions.
Next Post - Mission special. a sheep craft for those with almost no resources (and last in this series)
YOUNGER + OLDER
The obvious craft for this passage is to make sheep. The cotton wool blobs stuck on paper is always a easy solution but being more adventurous is often more memorable.
Sheep bags are a fun way of making a toy that can be used again and again. Admittedly they take some work but not too much and it's worth it for the result. You'll see the kids make up multiple games on the spot and it's something they can keep.
Using felt tip pens on cotton really works, and what's great is that if you wash them then the colour comes out. Be careful what you use for stuffing if you are hoping to put them in the washing machine, though. Mine were made with fabric scraps.
You can use pattern material for the back, get the kids to draw goats on the back or just decorate them with their names.
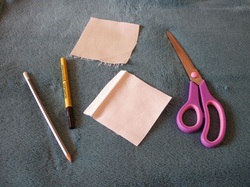
You will need
sissors, sewing machine, thread, fabric, fabric scraps or stuffing, pencil, pen (optional).
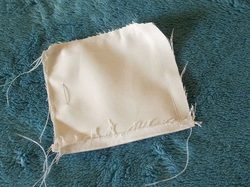
Takeing an old sheet or any plain fabric scraps. make two equal squares of fabric per bag.
I used roughly 10cm squares.
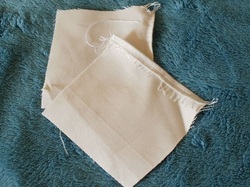
Hem one side of your fabric squares. This will form the opening for stuffing.
If you are making a lot then working on a large sheet of fabric with a
grid can save time. Just remeber to hem the openings first.
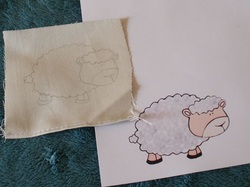
Trace the clip art picture onto one square of fabric, with the hem facing away from you. This image is clipart from Clker.com.
Place two squares together, with the right side facing inwards.
Sew around the three sides, leaving the hemmed side un-sewn.
(The pin is at the edge of the design so i don't trap it!)
If you have older children you can give them the craft at this stage, or you could leave them here as hand puppets
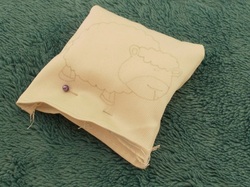
Turn the bag the right way round and stuff loosely. Pin with enough room to get under the foot of the machine.

Following the hem line sew the bag shut. Remember to backstich or button stitch the ends.
Older children who can use needle and thread but superglue is effective too, though needs equal supervision.
Sewing around all four sides of the beanbag will make it stronger if you are stuffing with beads.
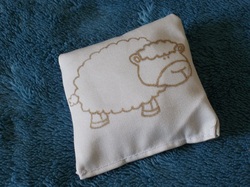
Get out the felt tips and be creative! As this is going in the wash a permanat marker to outline is nesseasry.
MIDDLE
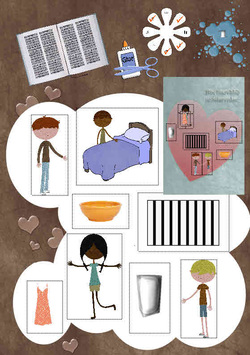
The story gives us a lot of tasks that we need to fulfil. This activity is about completing the picture. The worksheet is made from a variety of images that are not complete. the empty glass, the separated friends, they all represent sentences in Jesus' teaching. The worksheet could be use with pencils and pens alone, but is designed to be cut into it's componant parts then reformed back into a heart shape. We show jesus' love as we complete the tasks in real life. As always remeber to discuss what you are doing and why.
This is a middle activity, but can be easily used in an all age setting. i completed this with 3 year old twin boys, and an 11 year old was left to do the activity independently. We did not supply a heart sheet, mostly to cut down on printing, we let the children draw it themselves, or drew it for the younger ones. The page shows an eample of a competed heart at the side.
Credit to World Vision scrapbook kit by Unforgetable moments.
For an explanation of the white flower with ticks see theory.