CRAFT : YOUNGER / MIDDLE
This craft comes in two parts. you can chose to use both, or just one of them dependant on your time.
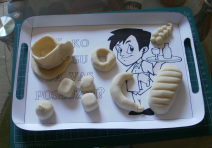
The passage talks about the apostles serving food, it's an process even the youngest child can help with. This craft makes a tray for serving, this part of the craft can be, if needed, short on time and resources. The tray is then filled with food made from sculpting dough, this part of the craft is slightly time intensive to set up and for the youngsters to complete.
I chose to complete the blank trays in advance, using thin card, and to give my youngsters the sculpting, with the option to colour the trays if time allowed.
don't forget......
Part on1 - serving tray.
The best way to make a serving tray is with sturdy material. While printing on card will do, it won't last long. Laminating the cut out tray will make it more durable or using plastic coated card from packaging will work too. If you have the financial oppertunity you can buy small plastic trays and affix an image to them using craft glue.
The best way to make a serving tray is with sturdy material. While printing on card will do, it won't last long. Laminating the cut out tray will make it more durable or using plastic coated card from packaging will work too. If you have the financial oppertunity you can buy small plastic trays and affix an image to them using craft glue.
The image is linked to the pdf of the tray pattern. It's a simple design and the image and words can be changed. There are two pages, the first had a picture and the second is just the cutting lines. To be honest there is little need for a printout, though i would recommend rounding the corners.
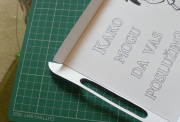
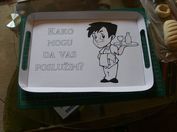
The sides slope if you overlap the corners slightly and fix with sturdy glue. (The handles are cut on on this picture but there really is no need to do so)

Once you have your trays it's a blank canvas. according to your material decorate the trays to make them more appealing, and also to highlight whatever text you have added - I chose the text 'How can i serve you?'
If your trays are plastic then use either permanent markers or a small amount of paint mixed with craft glue so it sticks. i would recommend using small sponge squares for the paint so you don't add excess water.
If your trays are plastic then use either permanent markers or a small amount of paint mixed with craft glue so it sticks. i would recommend using small sponge squares for the paint so you don't add excess water.
If you want you can stop there. Especially if you have been painting the craft can stand alone, however if you have just used card and pencils, or if you have lots more time, then the real fun is in part 2
Part 2 - dough food
It's wonderful to find something really tactile to do with the youngsters that had a direct link to the story. Really you can use plasticine, play dough, clay, or even junk modeling to make your food. i find the simplist and cleanest way is to use salt dough so that what i've done here.
It's wonderful to find something really tactile to do with the youngsters that had a direct link to the story. Really you can use plasticine, play dough, clay, or even junk modeling to make your food. i find the simplist and cleanest way is to use salt dough so that what i've done here.
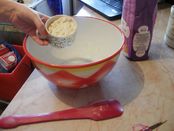
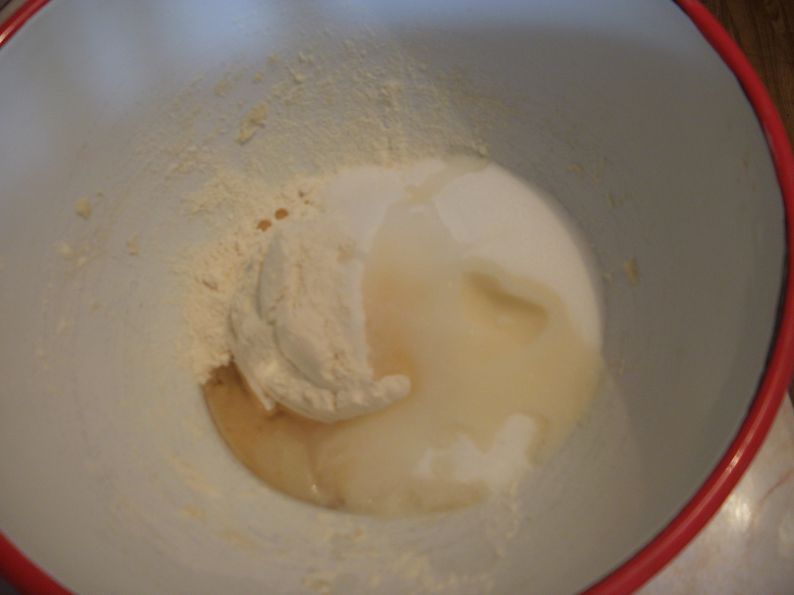
If you've not made salt dough before then it's really simple. You need 2 cups of flour, 1 cup of salt, one table spoon of oil and one table spoon of lemon juice.
Put everything into one bowl and give it a mix
Slowly add a cup of water, mixing well at each stage.
Put everything into one bowl and give it a mix
Slowly add a cup of water, mixing well at each stage.
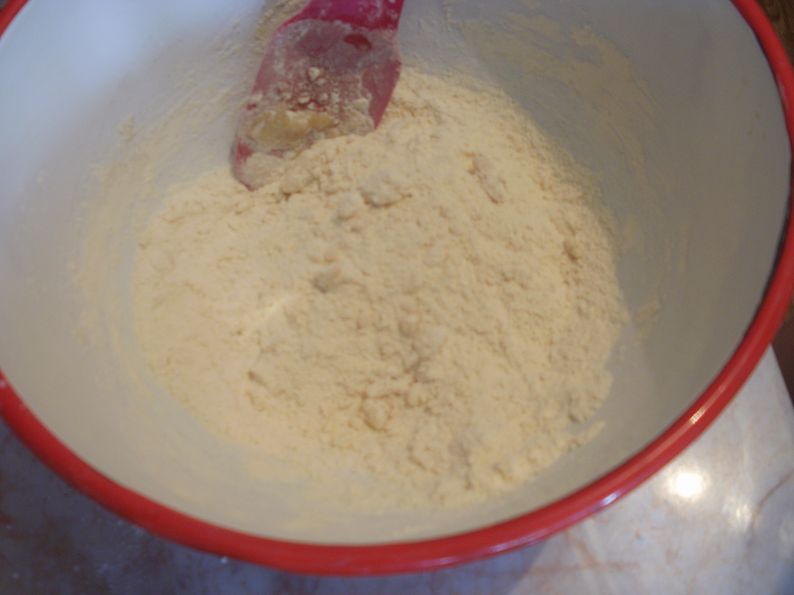
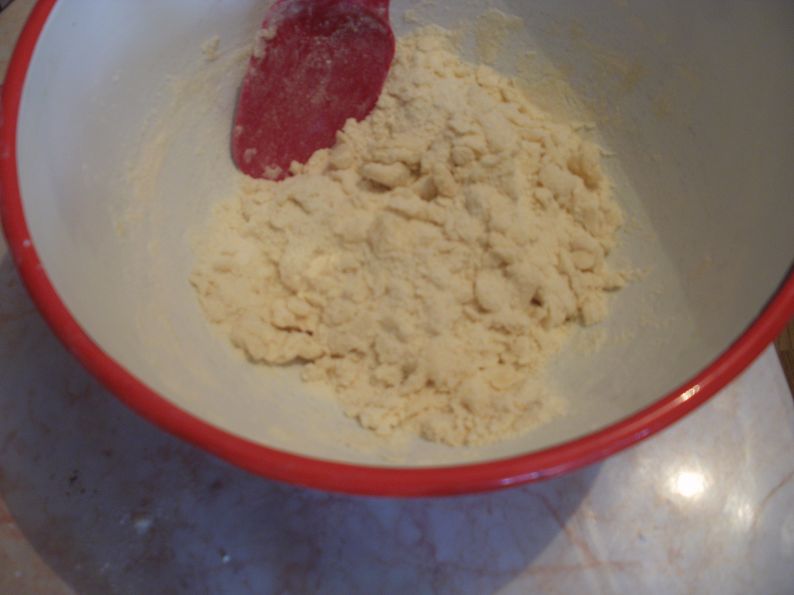
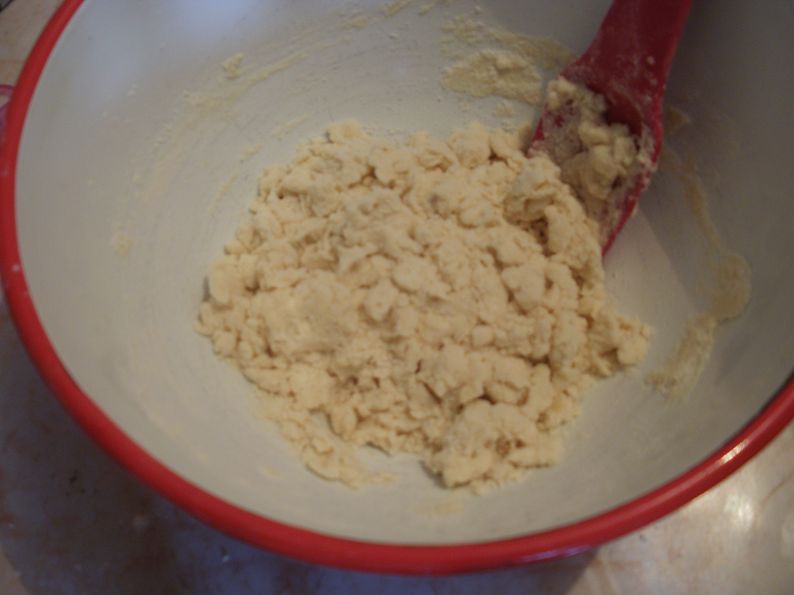
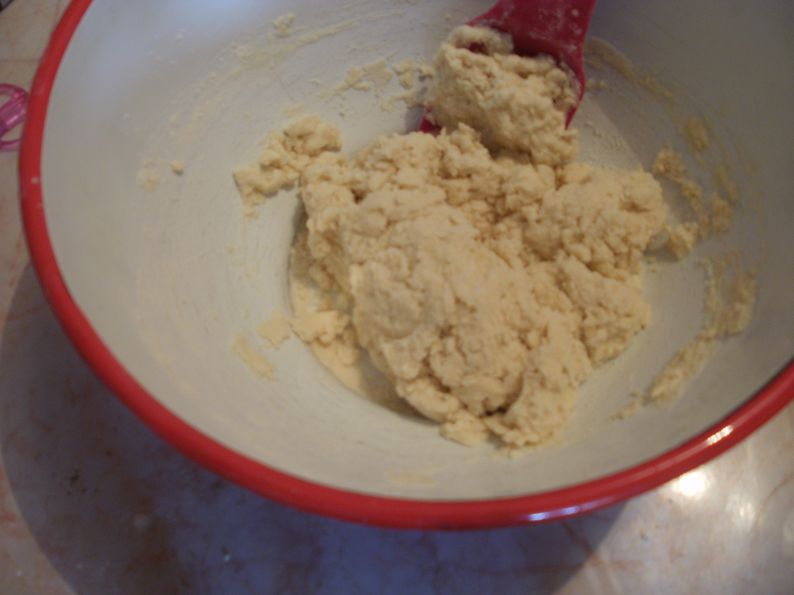
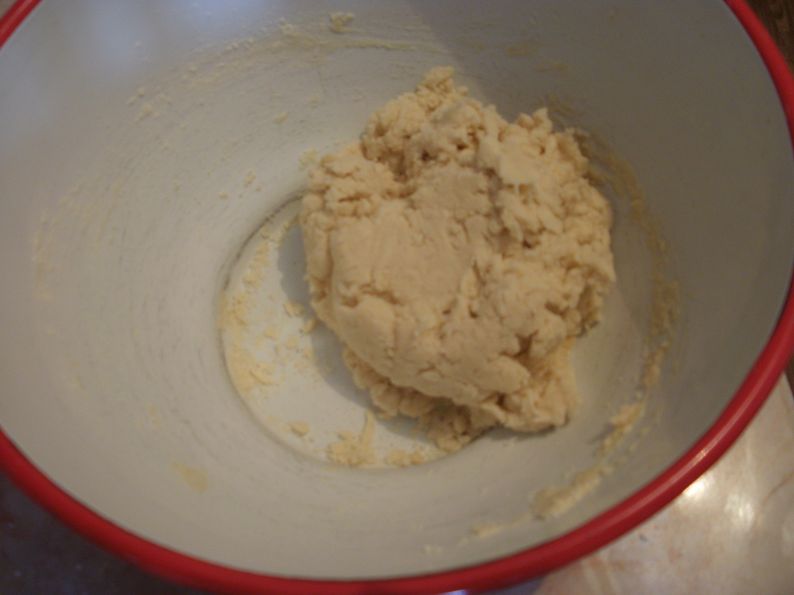
Once you add the last of the water it will start to stick together as a dough.
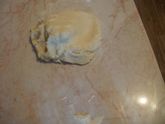
Flour a clean surface and start to kneed the dough. Ideally the dough will start out a tiny big grainy and after about 10 minutes will start to feel smooth.
If the dough is too wet it will stick to the surface and you'll need to add more flour to continue, working the flour in from the surface. If the dough is too dry, wet your hands and work the moisture in from the surface.
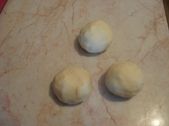
I split the dough into three balls. Put each into a small plastic bag and started again until I had enough for each child.
At the end of the session I gave each child the excess dough to take home by reusing the same plastic bags.
You also want to pack wet-wipes and paper towels in your bag. I did give the youngsters toothpicks, but I would advise against giving rolling pins and many sculpture tools.
At the end of the session I gave each child the excess dough to take home by reusing the same plastic bags.
You also want to pack wet-wipes and paper towels in your bag. I did give the youngsters toothpicks, but I would advise against giving rolling pins and many sculpture tools.
